Hello Kitty in Paris!!
BEFORE

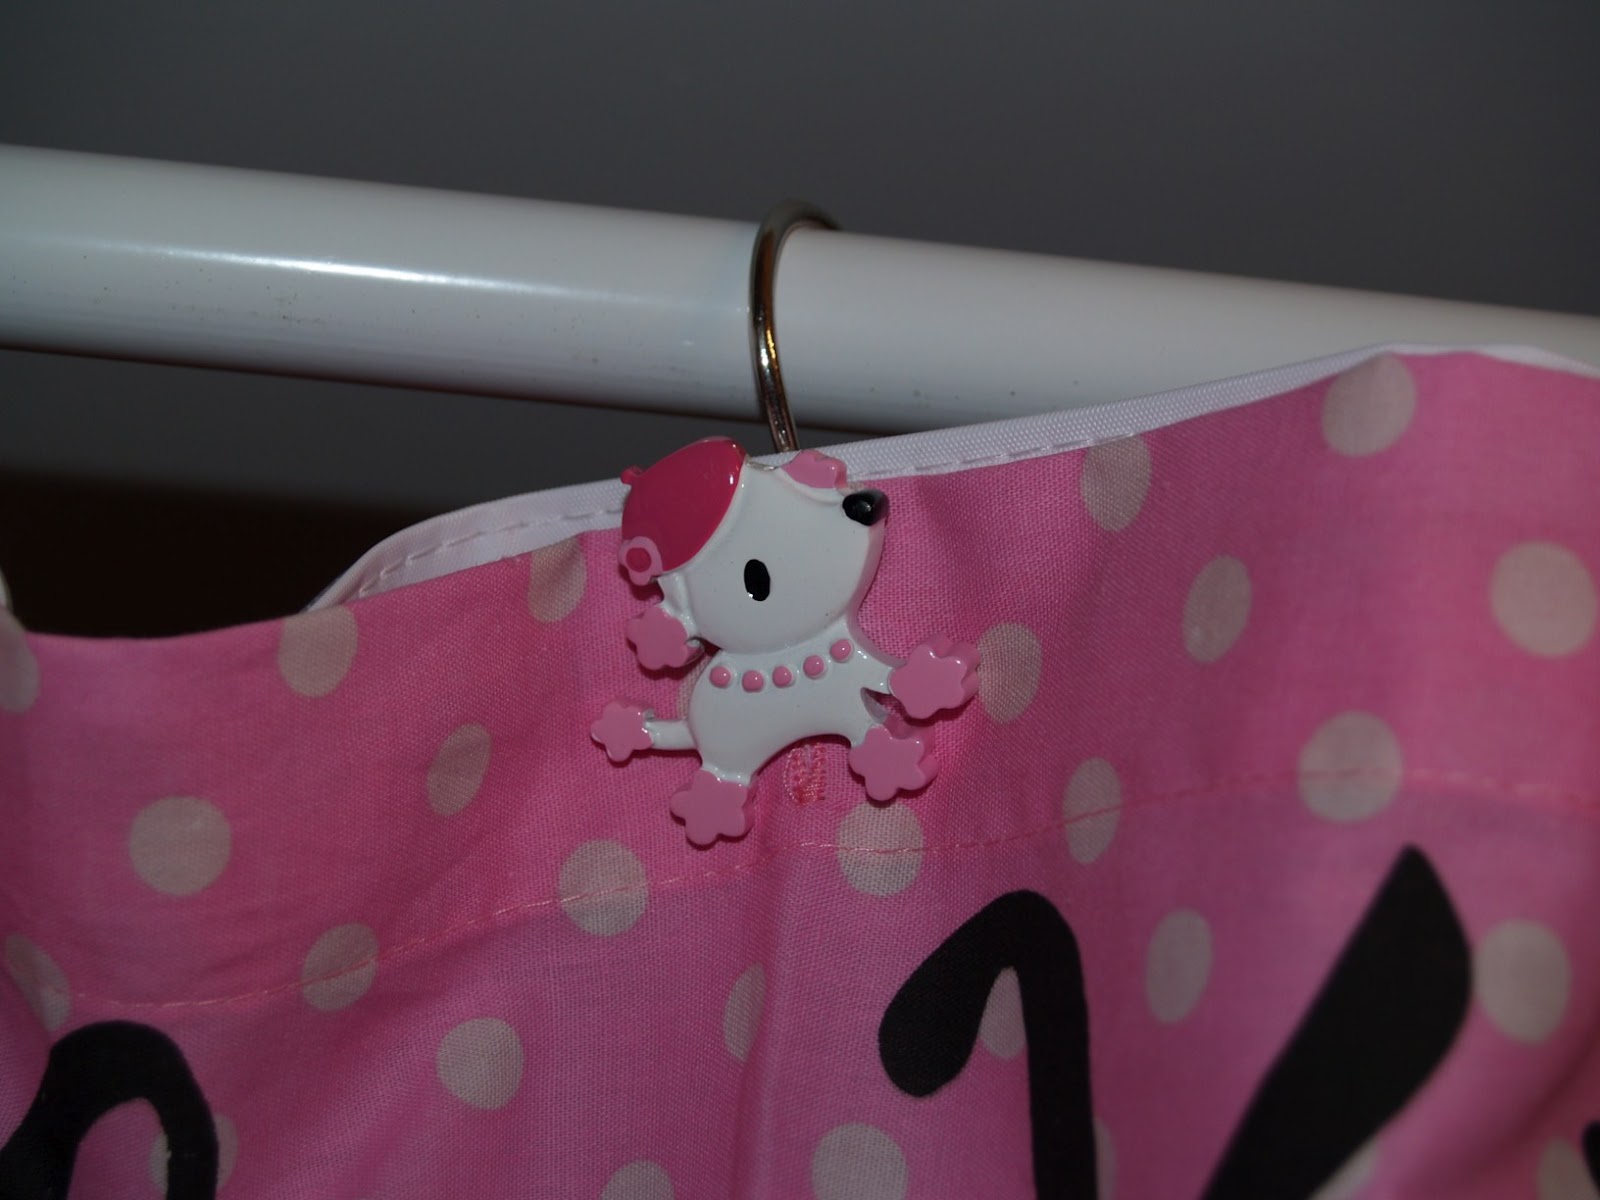
AFTER

I love the way it turned out! It's everything I had envisioned in my head. {Don't cha just love when that happens!?} Overall I think I spent $150 on the paint, curtians, light fixture and the accessories. My SIL bought the shower curtain and the towel for the girls at Christmas so that was one less thing I had to buy. My little ladies LOVE their bathroom! And as they grow, I can take out the Hello Kitty, and add more mature prints and patterns without characters and it will still be suitable for years to come. The vinyl designs on the walls are from uppercase living {which I am addicted too... clearly.} The Eiffel tower is the "grande" format which is 72" I think. LOVE it!

On the vanity I have a Hello Kitty in Paris soap dispenser and an Eiffel Tower toothbrush holder. {Toothbrushes don't actually fit but it's too cute not to put there.} Got all the accessories from Walmart.com in the states. My SIL was good enough to send them up to me!

The Light fixture is of course from Ikea. Love that place so much!

More uppercase living!

Although I still have a few small things left to do, {frame around the mirror, headband and hair clip holders and a few vintage glass knobs to hang necklaces and bracelets} I say MISSION {pretty much} ACCOMPLISHED!
~Chrissy~
{Keep scrolling if you want to see additional pictures.}